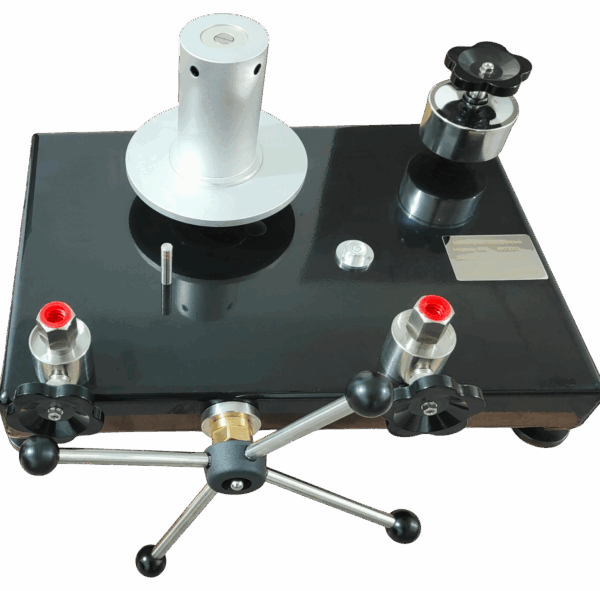
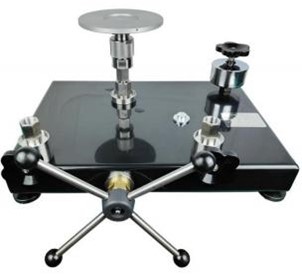
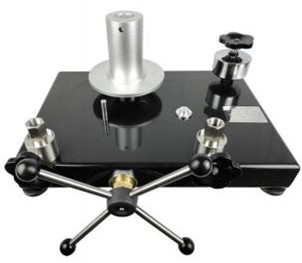
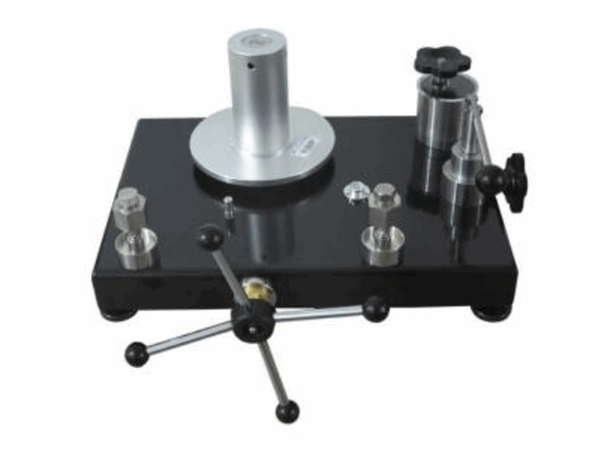
Deadweight gauges
Available on request. Please contact the manager for pricing.
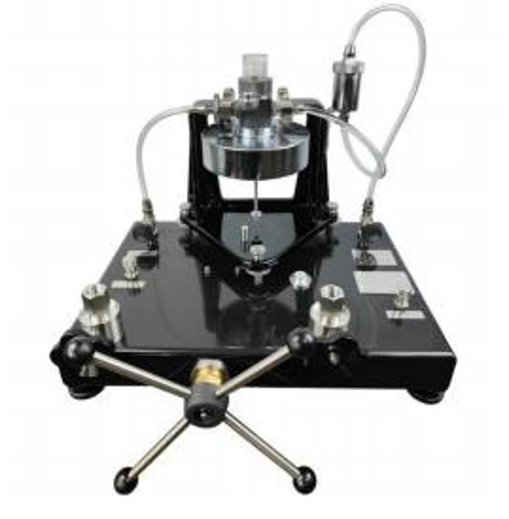
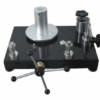
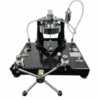
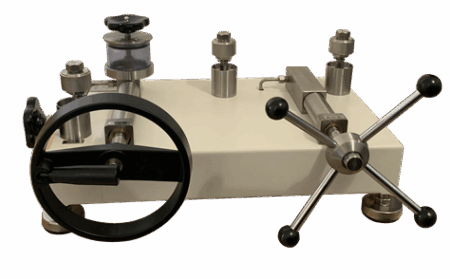
A deadweight tester is a high-precision pressure standard. It is a measuring instrument that operates on the principle of hydrostatic balance: the pressure of the fluid acting on the effective area of the piston is balanced by the gravitational force of the applied weights.
The device consists of a piston-cylinder assembly, a set of calibrated weights, and a pressure calibrator.
Deadweight testers are used for calibrating digital pressure gauges, precision pressure gauges, pressure transmitters, pressure sensors, and other pressure-measuring instruments.
Description
The Deadweight gauges represent our company’s latest development, designed and manufactured in strict compliance with the most recent national verification regulation for Deadweight gauges. The critical components of these gauges employ tungsten carbide material, characterized by high hardness and low thermal expansion coefficient, significantly enhancing the piston’s wear resistance. Consequently, the deformation under pressure is minimal (negligible), ensuring exceptional stability. For gauges exceeding 25MPa, the working medium utilizes diisooctyl sebacate, thereby achieving superior sensitivity. Through the implementation of advanced materials, innovative technologies, and novel manufacturing processes, the technical specifications of the new Deadweight gauges have been substantially improved.
The operating principle of Deadweight gauges is based on the equilibrium between the pressure generated by the piston’s own weight and the specialized weights added to it, acting on the piston’s surface area, and the pressure produced within the hydraulic container.
The Deadweight gauge system consists of two primary components: the calibration pump and the measurement system.
The calibration pump section includes a hand pump, oil cup, and output interface. The output interface is equipped with double-ended lock nuts (or quick connectors) for connecting various pressure instruments under calibration. The measurement system primarily comprises a precisely ground piston with an exact cross-section, which directly bears the weight of the calibrated weights on the base plate.
0.6MPa and 6MPa
|
Parameter |
Unit |
Model | ||
| PPU 0,6 МПа | PPU 6 МПа | |||
| Measurement upper limit | MPa | 0.6 | 6 | |
| Measurement lower limit | MPa | 0.06 | 0.1 | |
| Nominal piston area | cm² | 1 | 0.5 | |
|
Chassis and Pistons |
Nominal mass | kg | 0.612 | 0.51 |
| Generated pressure | MPa | 0.06 | 0.1 | |
| Specialized weights(carbon steel or stainless steel) | Nominal mass | kg | 0.102;0.51 | 0.51;2.55 |
| Generated pressure | MPa | 0.01;0.05 | 0.1;0.5 | |
| Quantity | pcs | 4;10 | 4;11 | |
| Lock nuts at both ends | 2 pcs | M20×1.5 | M20×1.5 | |
| Piston rod material | Tungsten carbide | Tungsten carbide | ||
| Accuracy class | 0.05、0.02、0.01 | 0.05、0.02、0.01 | ||
| Weight | kg | 47 | 60 | |
|
Working fluid |
The kinematic viscosity of the mixed oil (or transformer oil) at 20°C is 9–12 centistokes, and the chelate value is not greater than 0.05 mg KOH/g. | |||
25MPa and 60MPa
|
Parameter |
Unit |
Model | ||
| PPU 25 МПа | PPU 60 МПа | |||
| Measurement upper limit | MPa | 25 | 60 | |
| Measurement lower limit | MPa | 0.5 | 1 | |
| Nominal piston area | cm² | 0.1 | 0.05 | |
|
Chassis and Pistons |
Nominal mass | kg | 0.51 | 0.51 |
|
Generated pressure |
MPa |
0.5 |
1 |
|
|
Specialized weights (carbon steel or stainless steel) |
Nominal mass | kg | 0.51;2.55 | 0.51;2.55 |
| Generated pressure | MPa | 0.5;2.5 | 1;5 | |
| Quantity | pcs | 4;9 | 4;11 | |
| Lock nuts at both ends | 2 pcs | M20×1.5 | M20×1.5 | |
| Piston rod material | Tungsten carbide | Tungsten carbide | ||
| Accuracy class | 0.05、0.02、0.01 | 0.05、0.02、0.01 | ||
| Weight | kg | 55 | 60 | |
|
Working fluid |
Kinematic viscosity at 20℃: 20-25 centichit.(Recommended:sebacic acid ester), acid value not exceeding 0.05 mg KOH/g. | |||
100MPa and 160MPa
|
Parameter |
Unit |
Model | |||
| PPU 100 МПа | PPU 160 МПа | PPU 250 МПа | |||
| Measurement upper limit | MPa | 100 | 160 | 250 | |
| Measurement lower limit | MPa | 1 | 2 | 5 | |
| Nominal piston area | cm² | 0.05 | 0.05 | 0.025 | |
|
Chassis and Pistons |
Nominal mass | kg | 0.51 | 1.02 | 1.27 |
|
Generated pressure |
MPa |
1 |
2 |
5 |
|
|
Specialized weights (carbn steel or stainless steel) |
Nominal mass | kg | 0.5;2.5;5.1 | 0.5;2.5;5.1 | 0.255;0.5;2.5; 5.1 |
| Generated pressure | MPa | 1;5;10 | 1;5;10 | 1;2;10;20 | |
| Quantity | pcs | 4;11;4 | 4;3;14 | 3;4;6;9 | |
| Lock nuts at both ends | 2 pcs | M20×1.5 | M20×1.5 | M20×1.5 | |
| Piston rod material | Tungsten carbide | Tungsten carbide | Tungsten carbide | ||
| Accuracy class | 0.05、0.02、0.01 | 0.05、0.02、0.01 | 0.05、0.02、0.01 | ||
| Weight | kg | 95 | 120 | 95 | |
|
Working fluid |
Kinematic viscosity at 20℃: 20-25 centichit. (Recommended: sebacic acid ester), acid value not exceeding 0.05 mg KOH/g. | ||||
Piston pressure vacuum gauge
0.25MPa and 0.6MPa
|
Parameter |
Unit |
Model | ||
| PPU 0,25 МПа | PPU 0,6 МПа | |||
| Measurement upper limit | MPa | 0.25 | 0.6 | |
| Measurement lower limit | MPa | -0.1 | -0.1 | |
| Nominal piston area | cm² | 1 | 1 | |
|
Chassis and Pistons |
Nominal mass | kg | 0.102 | 0.102 |
| Generated pressure | MPa | 0.01 | 0.01 | |
|
Special weights |
Nominal mass |
kg |
0.051;0.102;0.102;0.102; 0.102;0.51 | 0.051;0.102;0.102;0.102; 0.102;0.51 |
| Generated pressure | MPa | 0.005;0.01;-0.01;0.02; -0.02;0.05 | 0.005;0.01;-0.01;0.02; -0.02;0.05 | |
| Quantity | pcs | 2;2;1;3;4;3 | 2;2;1;3;4;10 | |
| Lock nuts at both ends | 2 pcs | M20×1.5 | M20×1.5 | |
| Piston rod material | Abrasive steel | Abrasive steel | ||
| Accuracy class | 0.05、0.02 | 0.05、0.02 | ||
| Weight | kg | 49 | 56 | |
|
Lubricating medium |
The kinematic viscosity of the mixed oil (or transformer oil) at 20°C is 9–12 centistokes, and the acid value is not greater than 0.05 mg KOH/g. | |||
| Working medium | Clean air | |||

